Unit One-PC Hardware Maintenance
Terminology

We learned allot of new terms for parts of a pc. This included the entire computer, inside and out. The terminology helped me throughout the rest of the unit when I needed to describe a part or when the teacher asked us to find the RAM (Random Access Memory)for example I knew what to look for. Some of the terminology learnt was hertz and parallel port. Hertz are the number of complete cycles per second. A parallel port or what I used to call a printer port is an interface found on older PCs and is used for connecting printers and scanners to the pc but in newer computers USB cables are used instead because they are faster.
System Model

A computer has to connect too many items and has to processing data at the same time. A computer does this by using the different components. Some items process when information is sent through the device to the computer this is called an input. An example of input would be a webcam; you are inputting an image into the computer. When an item receives information from the computer, it is called an output, examples of this are speakers, they play music files on the pc and the sound is sent outwards from the speakers. We also learned a motherboard processes all the functions and makes all the parts work together in the pc. Memory, which includes anything that has memory to run the system such as a RAM (random access memory). Lastly storage is another component we learned about an in system, the storage includes any component that stores information, such as a DVD, CD or even a floppy disk.
Types of Software

Software is computer programs and raw information. Software is either visual on your computer monitor or process the system with information in the background. This software includes operating systems. A basic operating system that runs the basic information of a computer such as the keyboard, mouse and other operating system is called BIOS. Microsoft Word is an example of a computer program.
PC Design & Specifications

PC designing is too create your own PC, it sounds easy but buying individual parts can be hard you need to know if your motherboard can support the item you want to add. The specifications of each parts need to be compatible with every other parts, this included the motherboard, CPU, the case, etc otherwise the computer won't work or will function to full capabilities. We learned of this when we had to design our own PC as an assignment for class, we had to list specifications of the products used for the custom PC. For this custom PC all the parts of the PC must be contemptible with the other group member's products. Afterwards, we had to create a 2nd PC, however for this assignment the custom PC had to be budget pc which had to have the lowest price as possible. With these skills, I know what to look for if I need to upgrade my pc.
PC Assembly & Maintenance

We learned how to properly assemble and maintenance our computers along with safety rules to protect us and the computer. I learnt that we should always unplug the pc and monitor before we even touch the case. Also we should never open a monitor or power supply they are high voltage hazards. Every part of the computer has its own place, like how the motherboard had to be screwed on to the case. When we opened our computers we learned where each piece of hardware should go and how to replace them if we needed to, also we learned that there are no shortcuts you have to have the right tools and take your time and carefully do what you need to do. This is because if you leave a screw in the case by accident it could get stuck in one of the parts of the computer and cause problems. We learned to how to disassemble and re assemble all the parts of the computer. This is really helpful if we ever need to do any maintenance or repairs at home, we know how to do it safely and correctly.
Unit Two-Networking
Network Theory

We learnt allot of new terminology this unit, such as what computer networking is. It is two or more nodes connected together by a physical medium that exchanges data by using a common networking protocol. Along with that, we took at look at what nodes, mediums. A node is a computer, peripheral (printers, etc) or a networking device. Also I learned about different types of networking cables like the RJ 45 Cat 5E UTP, I used to call this the blue internet cable until I learnt its real name and use. Understanding all the terminology and their uses will help us make better decisions when we network our homes or businesses.
Cyber Safety

For a few days, we learnt and did an assignment about cyber safety. This was to show us how dangerous the things we do and say on the internet can be. We watched a video of somebody who found out everything about a girl they met in a chat room and that was just from little things like her name and email address. Think about how much information we give out on social networks like Face book, Twitter etc. anybody can find out information about us. This really made me think about what I do on the internet. Everyone should practice cyber safety adults and children.
Internet 101

In internet 101, we learned about the history of the internet and some basics that came with working with it. We learned who and why the internet was created and what the difference between internet and the World Wide Web was. The internet was an interconnection of many networks while the World Wide Web was the way to navigate through it. This helped me understand the internet and about things I've never thought about before, I thought I knew allot about the internet because I used it everyday but in fact I knew very little. Then we moved on to some other things such as connecting to the internet through a router and different terms like POP and the backbone. The POP stood for point of presence where users could access their own company's network through phone, and the internet backbone is fibre optic cable lines that carry higher capacity of internet usage towards more computers.
Home Network Desgin

The last part of the unit, we were given an assignment to design a home network. We learned about large network which are used in schools and businesses, and by using that knowledge we created a home network and also we had to choose all the wires and parts we would need. This taught me how to wire everything properly and which cables would be better suited for my personal home network. I learned that old desktops that don’t have wireless access to the internet can get a wireless NIC (Network Interface Card) installed into the expansion slots, which would allow the desktop access to wireless internet connections. I also learned the different ways that a printer could be connected to a network and how anyone on the network could use it.
Career Mash

An employee of Cisco came to my class and gave us a presentation of a program called Career Mash and she told us allot about different IT(integrated technology) jobs. There were four categories that different jobs went into, those being innovators, builders, problem solvers and leaders. Her presentation taught me that almost every job in the world can be combined with technology. On the site, it gives plenty of options with detailed descriptions about the job and opinions of those who are currently working in that specific field. It also tells you what education you would need to do to get that job. I could use that information to help me find a job right for me.2 examples of Companies that are involved in this program are Dell and RIM(Research In Motion).
Dell offers- Hands-on summer internships, They are 10-12 weeks for undergrads, often longer for students in Masters programs.Classroom style and online training opportunities are available, not to mention tuition subsidies and textbook reimbursement.Dell is highly supportive of families, offering daycare and adoption subsidies, support for new moms and, for later in life, scholarship opportunities for children of employees.Some careers Dell offers are Global systems engineer,Technical architect,IT services technical consultant,Virtualization specialist,Systems engineer.
RIM offers-A wide variety of opportunities for students and new graduates beginning while students are still in school. There are co-op opportunities, internships and entry-level positions available across a vast scope of cutting-edge career paths in business and technology.If you like helping people out, you can further your involvement with RIM after completing a co-op or internship by seizing the unique opportunity to be a campus ambassador. Campus ambassadors answer other RIM-hopefuls questions. They help them master resumes and interviews, and navigate the application process. There’s a lot to be gained from being on the RIM radar in this exciting and evolving industry.Some careers that RIM offers are Manager of BlackBerry Email Cloud Services, Manager of Software Testing, Collaboration and Social Networking Platforms,Camera Developer,Dashboard Developer,Linux Specialist,BlackBerry Infrastructure Engineering.
Unit Three-Circuits
Electronic Theory

In this unit, I have learned important terms that I should know when dealing with circuits I learned about resistors, capacitors chips and LEDs. In addition I learned the difference between digital and analog signals, digital signals are one whose output varies at discrete voltage levels commonly called high or low (1 or 0) while analog are one whose output varies continuously instep with the input.
Circuit project: LED flasher circuit

The 555 Timer chip outs a steady square wave or a single on-off pulse. The time period of the output is controlled by selecting a specific resistor and capacitor combination. For this project, we created an LED design using this type of chip; my design had 7 LEDs, 4 resistors, a capacitor, and lots of conducting wire. The process included sketching our design, choosing a flash rate, then calculating the value of the required resistors and choosing the best matching resistor to suite the flash rate we want. This project gave us the experience of creating our own working circuits; we learned how to calculate and choose the right components and how to make them work together.
Circuit Project:Logic Probe

A logic probe is a hand-held pen-like test
probe used for analyzing the logical states (Boolean 0 or 1) of a digital circuit. While most are powered by
the circuit under test, some devices use batteries. They can be used on either TTL (transistor-transistor logic) or CMOS (complementary metallic oxide semiconductor) integrated
circuit devices.
There are usually three differently-coloured LEDs on the probe's body:
A low-cost logic probe
when the logic probe is either connected to an invalid logic level (a fault condition or a tri-stated output) or not connected at all, none of the LEDs lights up.
Another control on the logic probe allows selection of either TTL or CMOS family logic. This is required as these families have different thresholds for the logic-high (VIH) and logic-low (VIL) circuit voltages.
Some logic probes have a separate audible tone for each of the logical states. An oscillating signal causes the probe to alternate between high-state and low-state tones.
A logic probe is a cheap, versatile and convenient digital test instrument, but can test only a single signal at a time. When many logic levels need to be observed or recorded simultaneously, a logic analyzer is used.
There are usually three differently-coloured LEDs on the probe's body:
- Red and green LEDs indicate high and low states respectively
- An amber LED indicates a pulse (as used in a NOID Light to test for pulses to fuel injectors on a electronically controlled fuel injection vehicle)
A low-cost logic probe
when the logic probe is either connected to an invalid logic level (a fault condition or a tri-stated output) or not connected at all, none of the LEDs lights up.
Another control on the logic probe allows selection of either TTL or CMOS family logic. This is required as these families have different thresholds for the logic-high (VIH) and logic-low (VIL) circuit voltages.
Some logic probes have a separate audible tone for each of the logical states. An oscillating signal causes the probe to alternate between high-state and low-state tones.
A logic probe is a cheap, versatile and convenient digital test instrument, but can test only a single signal at a time. When many logic levels need to be observed or recorded simultaneously, a logic analyzer is used.
Logic Gates

In this unit,one of the main things that we learned about is logic gates. Logic gates are the smallest and most basic system that you could get to make bigger and more complex technologies. There are seven basic gates that come together, the 7 basic gates are(AND, OR, XOR, NAND, NOR, XNOR, NOT ) all of these gates can come together and form some of the most complex and useful electronic devices and put it together with other components and the outcome can be very powerful. Out of all of these gates three of them are the inverse of each other so there are really 4 gates and the NOT gate changes the other three into the next three gates for example you use the NOT gate on the AND gate and you get the NAND gate and all of these have their specific purpose.
Binary Numbers

At the beginning of the unit we learned an entirely new language. When we learned binary, we also learned decimal and hexadecimal. When using binary, there are only two digits, 1 and 0. These two digits are used to communicate important information to the CPU. We learned how to spell our own names in hexadecimal.First if you had a number in binary, such as 1010, you would have to assign place values to the digits.
8 4 2 1
1 0 1 0
place value that has a 1 under it, you would add together. Therefore the number in decimal would be 10. To create place values, you have to start with 1 and keep multiplying by 2 for how ever many digits you have. for example 11011110 would be:
128 64 32 16 8 4 2 1
1 1 0 1 1 1 1 0
That would be 128+64+16+8+4+2=222
therefore 11011110 would be 222 in decimal.
Unit Four-Programming, and the Interfacing
Terminology

In this unit, we learnt about different types of programming, which include high-level, low-level and binary. High-level languages are human-like commands, low-level languages are technical assembler languages for microprocessors and binary is a machine language consisting of 0’s and 1’s. After we got acquainted with those languages we moved on to learning about what a compiler was. A compiler program converts the code written into binary so the computer can understand it, because what’s the point of a program that the computer can’t understand. The file would be put into the program and it would result in an executable file that can be run by the user. Later, we learned about what an IDE (Integrated Development Environment) is. It is a program that can create, edit, compile, run and debug programs. It is the main tool used to create source code, compile and test a program. These components of the unit were definitely important which gave us a base to start when wanted to begin programming. Knowing that IDE and a compiler is available makes programming much easier to use and understand.
Program Planning

Before we even touched the computer and began programming, we did what is called the planning phase. First, we needed to understand how we were to approach a problem and solve it. We needed to begin by describing the program and move to actually breaking it up sub-categories, so it’s easier to solve. Then we began to write pseudo code which is the written process of what your program is going to do, after we drew screenshots, pictures that represent the layout for our program and finally a flow chart that shows how we are going to use the program Turing to make our program. After the planning phase was completed we began to program, every time we made a change we had to test it so there are no errors and if there are then we could fix them before we move on. Learning how to do the planning phase made it a lot easier for us to program because it required less thinking and more doing.
Mark Calculator

Our first assignment, in Turing was the mark average calculator assignment. For this assignment, we created a calculator that would calculate your percentage for a total of 8 courses. This program needed to have a lot of get statements, also since this was our first assignment it took a while to grasp the concept of Turing. I had to use the help menu a couple of times but now I know what to do.The mark calculator in the end turned out to work out perfectly, I followed my designs and I even added extra features to make it better.
Winter Scene

The winter scene assignment was a little difficult at first we had to use the draw commands and also we had to put in an animation. This assignment wasn’t too hard but it was like the mark calculator we had to learn as we made. For my winter scene I created a snowman on a snowboard, a Christmas tree, a house in the middle, stars, a moon, music was playing in the background, also I had happy holidays in the center of the scene because after all it is a winter scene and lastly it was snowing in the background, it sounds easy but if you saw the coding it took to create such a simple winter scene you would be surprised. In my opinion the hardest part of this assignment was making an animation because we had to use a function called “offscreenonly” which shows the animation without disrupting the images on the screen. This assignment was fun to make and it was fairly simple once I understood how to do the commands for what I want in my winter scene.
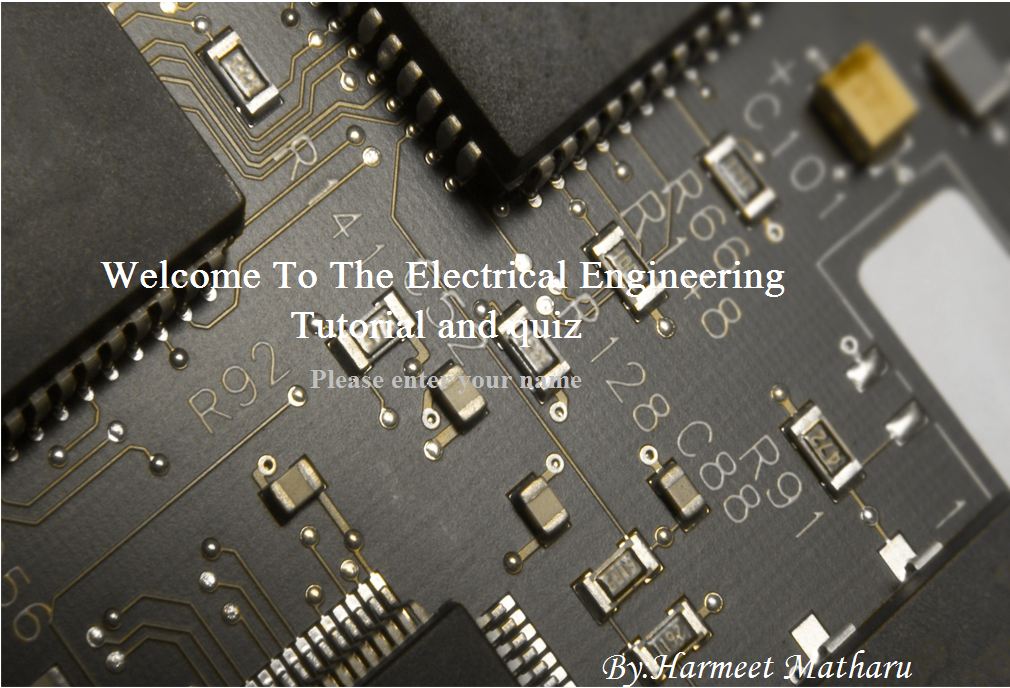
Final Project-Tutorial and Quiz
The final assignment, was to create a quiz and tutorial on a job we are interested or a unit we enjoyed. I choose to do it on electrical engineering which is my future career choice. After I did some research on my topic to put in my tutorial, I made 27 questions, this looks like an easy task but this took a while because I had to find reliable resources for my information and I had to create questions that weren’t too easy to answer after all it Is a quiz. After I was doing that, the next part was easy because my knowledge about Turing has grown and now I could do things without looking at the help menu. Although I still used it, because for this quiz I used some new components that we haven’t learned in class, I used a function called the get key which allows the user to switch slides when they are viewing the tutorial by pressing any key. I memorized all the basics on Turing for example I can put a picture from Google into my program easily, I remember the coding you need it is a function called Pic.ScreenLoad this functions loads the picture as long as you remember to fill in all the variables. For this assignment, i used a lot of Font.Draws and this function you need to input the specific location for your text, this was a very time consuming part of my program because the size and the location couldn't be too big or off the screen but in the end i figured it out. I think in an expert in Turing now, every day I thought of new ideas to make my program better, so I changed it daily I got so caught up with making the best program that I totally forgot about the design report, luckily my friends reminded me before it was too late. In the design report we had to show the three planning stages (pseudo code, flow chart, and screen shots), write a description of the project, create an IPO listing chart, and have people test our program and write comments and write a conclusion. These components of the project didn't take long because they are easy things to do but since I was in a hurry they weren’t the best but the report was a lot easier than the Turing program itself. In conclusion, this project was fun and it truly challenged us to do things we learnt and explore further into Turing and learn new functions and commands. This assignment has furthered my knowledge on Turing.
